
Migrate Your Inventory to StockZip
Most migrations finish in under an hour, and nothing gets lost along the way. Export your current data as CSV, import it into StockZip with a quick field mapping, then run a scan-based verification count to confirm every item made it across.
Free forever for 100 items · no credit card · import your list yourself
Three steps to move your inventory
The same pass works whether your data lives in Sortly, BoxHero, inFlow, Fishbowl, or a spreadsheet.
Export your item list as CSV from Sortly, BoxHero, inFlow, Fishbowl, or a spreadsheet. Include name, SKU, quantity, location, price, and notes — whatever columns your current system holds.
Upload the CSV to StockZip and match each of your columns to the right StockZip field. Your headers don’t have to match ours — "Item", "Product Name", and "Description" can all map to Name during import.
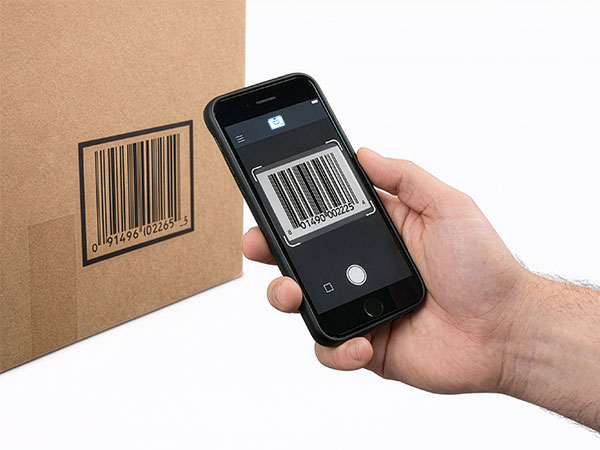
Run a scan-based verification count against a sample of locations to confirm on-hand quantities match what’s actually on the shelf, then invite your team and start scanning.
What transfers — and what to re-add after
A CSV carries your data cleanly. Here’s exactly what comes across in the import and the one thing you re-attach afterward.
✓Item name, SKU, quantity
The core of every export maps straight to StockZip’s Name, SKU, and Quantity fields.
✓Locations & folders
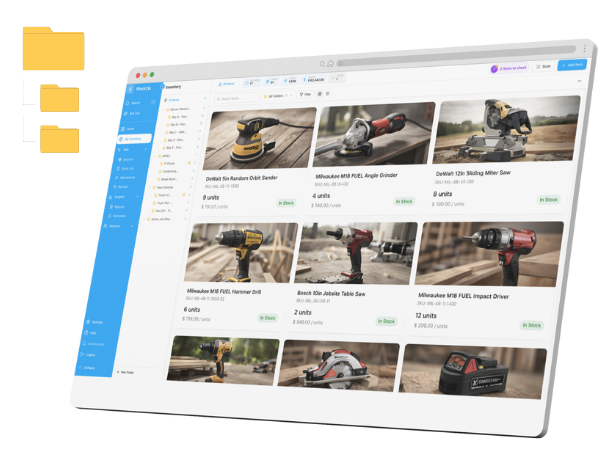
A location, folder, or bin column recreates your folder tree automatically during import.
✓Price, notes, custom fields
Price and notes map to their fields; any extra column can map to a StockZip custom field, so nothing is dropped.
↺Item photos
CSV carries data, not images. Import the data first, then re-attach photos to items in StockZip afterward, in bulk or as you touch each item.
Migrating from a specific tool
The three-step import is the same everywhere. Each comparison below shows, fairly, what actually changes when you switch.
From Sortly
Export your Sortly item list as CSV, import and map columns, then verify with a scan count. See the full Sortly alternative comparison for a feature-by-feature breakdown.
From BoxHero
Export your BoxHero items as CSV, map each column during import, and confirm quantities with a verification count. Compare BoxHero and StockZip side by side first.
From inFlow
Export your inFlow item list as CSV, map the fields, and run a scan count to check on-hand totals. See what changes when you switch from inFlow.
From Fishbowl
Export your Fishbowl items as CSV, match the columns to StockZip fields, and verify with a count by location. Compare Fishbowl and StockZip feature by feature.
From a spreadsheet
If your inventory lives in Excel or Google Sheets, start from the free inventory spreadsheet template to see the column layout StockZip expects, then line your data up and import.
Field mapping cheatsheet
Most inventory exports use one of a handful of naming conventions. Here’s how the common column names line up with StockZip fields during import.
| Your column | StockZip field |
|---|---|
| Item name | Name |
| SKU / Code | SKU |
| Quantity / On hand | Quantity |
| Location / Folder | Location |
| Price / Cost | Price |
| Notes / Description | Notes |
Any column that doesn’t match one of these can still map to a custom field, so nothing in your export has to be dropped.
After the import
Once your items land in StockZip, don’t just trust the row count — run a scan-based verification count against a sample of locations to confirm the quantities that came across match what’s actually on the shelf.
From there, print labels for anything that doesn’t already have a barcode and start scanning. The barcode inventory system is what keeps quantities accurate going forward, so the count you just verified doesn’t drift again.
Migration questions
Keep exploring
Have a bigger catalog or multiple locations?
If you’re dealing with a large catalog, complex custom fields, or several locations, talk to us and we’ll help map your data and verify accuracy — or just start free and import it yourself.